Linkwithin is a great free tool for bloggers to use. Linkwithin will display related posts at the end of your blog posts. The great thing about this tool is that it is automatic. Linkwithin does all of the heavy lifting for you using a complex algorithm to determine which posts on your site are most related to the current post. Linked below, you will find a post where I further explain the importance of having a related posts plugin such as Linkwithin. Click here to see that post.

Well, you’ve made it past Why You Need a Related Posts Plugin and are now wanting to set one up. This post will show you how to install LinkWithin for your Blogger blog.
First up, a little message from me:
Step One:
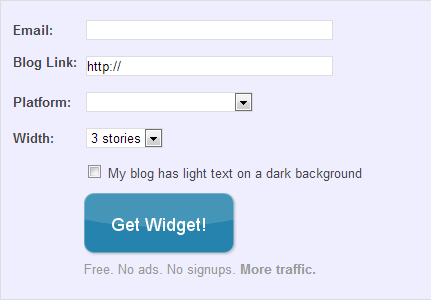
Visit LinkWithin.com and you’ll see this box that you’ll use to get set up:
Step Two:
Use the box pictured above and enter your email and blog url. Then select your platform (Blogger) and select the width (either 3,4 or 5), which tells LinkWithin how many related posts to show. I recommend 4 or 5. There is also a box to select if you have a blog with a dark background and light text. Like this. Ps. If you check that box, email me. We need to talk.
Step Three:
Now, don’t think you’re good to go by following the instructions that they provide on the LinkWithin site. You’ll wind up with text only links and won’t get images. Do this instead:
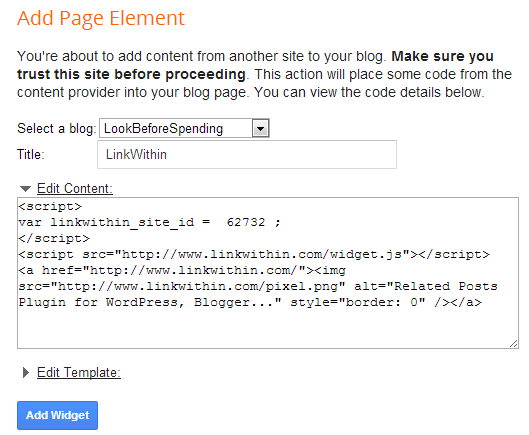
Click the little arrow next to “edit content” to reveal some HTML code. Highlight the entire code and copy it.
Step Four:
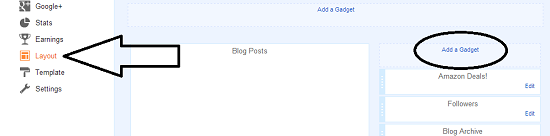
In your Blogger dashboard, click add a gadget.
Scroll down to find HTML/JavaScript.

You’ll probably want to (and you definitely can) leave the title blank. Then simply paste the html code that you have already copied into the content box and hit the “save” button.
Step Five:
Drag the gadget right underneath the “Blog Posts” section as shown below.
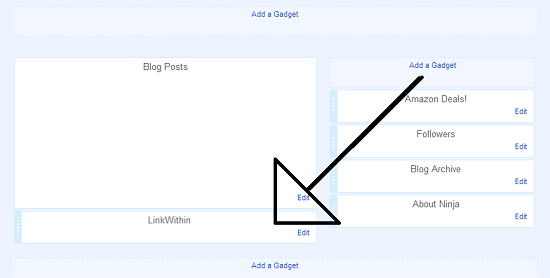
That’s it! You should be good to go! People will now be reading more of your blog posts!
Note: it may take up to 4 hours to finish populating data and actually start showing images.
Note #2: if you have ad/script/plugin blockers of any kind set up, you may not be able to see them. Try a browser where you don’t have the add-ons installed to see what the plugin looks like.
Problems installing LinkWithin on Blogger: People have been having trouble installing this for Blogger. For some reason, the content box is coming up as empty and no widget can be installed. Here’s how to get around that: Instead of selecting “Blogger” on the first screen, choose “other” and enter all other information as you normally would. When you click get widget, you’ll see some code. Copy that code. Now, when you select “Blogger” and the blank content box shows up, paste the code that you copied into that box.